How To Install MOES Smart Switch?

Upgrading to a MOES Smart Switch takes your home’s lighting control to the next level, with features like remote access, voice commands, and automation.
This guide will walk you through the easy installation process for MOES swithes, so you can start enjoying the convenience of smart lighting in no time.
How to install MOES Smart Light Switches
If you’re looking to enhance your home with smart lighting, installing a MOES Smart Switch is a simple and rewarding DIY project.
Unlike replacing a smart light bulb, installing a smart switch is straightforward and doesn’t require professional help. Just follow this step-by-step guide, and you’ll have your smart switch up and running in no time.
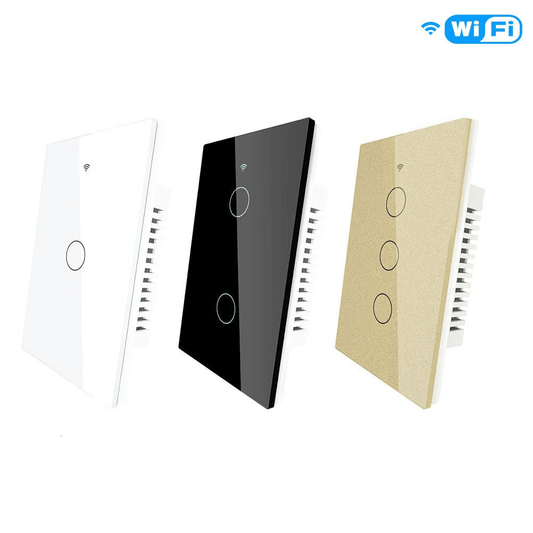
This guide uses the glass switch with a neutral wire as an example (Product SKU for US Standard: WRS-US1-WH-MS, EU Standard: WRS-EU1-WH-MS).
Note: If your home lacks a neutral wire, make sure to choose a smart switch that doesn’t require one.
Installation Steps
▶ Check Your Current Switch: Identify if the existing switch requires a neutral wire and whether it is a multi-gang control switch.
▶ Select Your MOES Smart Switch: Choose the correct model based on your needs and compatibility with your existing wiring.
▶ Turn Off the Power: Safety is a priority. Make sure to switch off the power at the fuse box before you start working on the wiring.
▶ Remove the Old Switch: Unscrew the wall plate and remove the existing switch. Carefully disconnect the wires, taking note of where each wire is connected for easy reinstallation.
▶ Prepare the Wires: Use wire strippers to remove about 1/2 inch of insulation from each wire. This ensures clean and secure connections.
▶ Connect the MOES Smart Switch: Follow the wiring instructions to connect the line (hot) wire to the “Line” terminal, the load (out) wire to the “Load” terminal, and the neutral wire (if applicable) to the “Neutral” terminal.
▶ Install the Smart Switch: Once the wires are connected, secure the switch into the wall box and screw the wall plate back on.
▶ Turn On the Power and Test the Switch: Flip the breaker back on and test the switch to make sure the light turns on and off correctly.
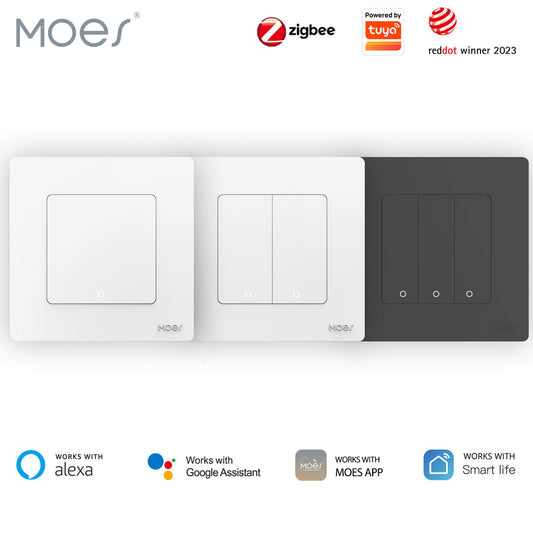
▶ Set Up the MOES App: Pair the switch with the MOES app for remote control and customisation. Set up voice control, lighting scenes, and schedules to suit your needs.


Installation Video
Take the European standard switch as an example.
MOES Smart Light Switch Features
Dual Switch Design
The double light switch design lets you control two separate lights from one location, saving space and adding convenience.
Multi-Control Association
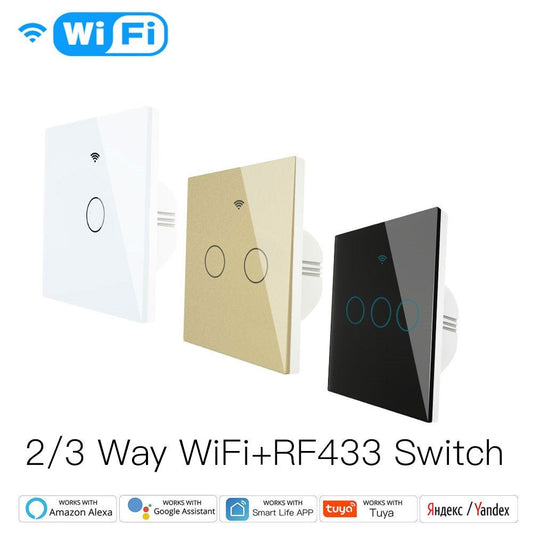
For 3-way circuits (where two switches control one light), this switch allows multi-control association with other Wi-Fi smart switches via the app. It can also be used in a single-pole circuit.
Non-Interference Control Mode
This mode allows the switch to be controlled through Smart Life, touch control, voice commands, or via RF remote control (with encoding 1527, remote not included).
Each control method works independently, enabling multi-control by associating it with other smart switches.
Remote Control
Use the upgraded Smart Life Tuya app to control your switch remotely, with added features like ON/OFF relay status and backlight switch settings. It’s compatible with Alexa and Google Home for hands-free voice control.
Customise Schedule and Timer
With the app, set timers, schedules, and countdowns (1/5/30 minutes, 1 hour, etc.) for connected appliances. You can also share control with family and friends for added convenience.
Reset/Re-pair Wi-Fi Code
To reset or re-pair, press the switch button six times and hold it on the sixth press until you hear three “Di-Di-Di” sounds. The blue indicator on the switch will flash rapidly after 3 seconds, signalling that the reset/re-pairing is successful.
How to Install MOES Smart Dimmer Switches
Upgrading to a MOES Smart Dimmer Switch is a simple and rewarding DIY project that will bring smart lighting control to your home. Unlike traditional dimmer switches, MOES Smart Dimmer Switches allow you to adjust your lights remotely, set schedules, and even control them with your voice.
Follow this step-by-step guide, and you’ll have your new dimmer switch installed in no time!
This guide uses the glass switch with a neutral wire as an example (Product SKU for EU Standard: ZS-SR-EUD1-WH-MS).
Installation Steps
1. Turn Off the Power
The first step is always safety. Before doing anything, turn off the power at the fuse box to avoid the risk of electric shock. Use a voltage tester to ensure there’s no current in the switch box before you begin working.
2. Remove the Old Dimmer Switch
Unscrew the wall plate and remove the existing dimmer switch. Carefully disconnect the wires, making note of which wire goes where so you don’t get confused during the installation of the new switch.
3. Identify and Prepare the Wires
- Line (Hot/In) Wire: This is usually black.
- Neutral Wire: Typically white or gray.
- Ground Wire: Green or plain copper wire.
- Load (Out) Wire: Usually black, but sometimes red.
If your home doesn’t have a neutral wire, you’ll need to choose a dimmer switch that doesn’t require one. Use wire strippers to remove about 1/2 inch of insulation from each wire to prepare them for connection.
4. Install the MOES Smart Dimmer Switch
- Connect the Line Wire: Attach the black (line) wire to the “Line” terminal on the dimmer switch.
- Connect the Load Wire: Connect the wire leading to your light fixture to the “Load” terminal.
- Connect the Neutral Wire: If your switch needs a neutral wire, connect the white wire to the “Neutral” terminal.
- Connect the Ground Wire: Attach the green or bare copper wire to the “Ground” terminal.
- Once everything is securely connected, carefully tuck the wires into the wall box and screw the dimmer switch into place.
5. Install the Wall Plate
After the switch is secured, put the wall plate back on and screw it into place.
6. Turn On the Power and Test the Dimmer Switch
Flip the breaker back on and test the dimmer switch to make sure everything works as expected. Adjust the dimmer to ensure the light responds properly to your changes in brightness.
7. Set Up the MOES Smart Dimmer Switch
- Connect to the MOES App: Open the MOES app on your smartphone and follow the instructions to pair your new switch with the app.
- Customize Your Settings: Once connected, you can adjust the dimming level, set schedules, create lighting scenes, and control the switch remotely.
Troubleshooting Tips
No Power After Installation: Double-check the wiring and ensure the circuit breaker is turned back on. Use a voltage tester to confirm there’s power.
Dimming Doesn’t Work: Make sure you’re using dimmable bulbs and that they’re compatible with the smart dimmer.
App Connection Issues: Verify that your phone is connected to a 2.4GHz Wi-Fi network, as the MOES Smart Dimmer Switch doesn’t support 5GHz networks.
MOES Dimmer Switch Features
Smooth Dimming Control
The MOES Dimmer Switch offers seamless control over your lights, allowing you to adjust the brightness to your exact preference. Whether you want full brightness for tasks or a soft, ambient glow for relaxation, this switch provides a smooth, flicker-free dimming experience.
Multi-Control Association
For homes with multiple switches controlling one light (3-way circuit), the MOES Dimmer Switch can be associated with other smart switches via the app.
This allows you to control the same light from different locations, providing added convenience and flexibility.
Voice Control Integration
The MOES Dimmer Switch works with popular voice assistants like Alexa and Google Home. You can control your lights hands-free by simply speaking your command.
Whether it’s turning the lights on, off, or adjusting brightness, voice control makes managing your lighting effortless.
Remote Control via Smart Life App
Using the Smart Life or Tuya app, you can control the MOES Dimmer Switch from anywhere. Whether you’re home or away, you can turn lights on or off, adjust the brightness, or set schedules to match your routine.
Customizable Schedules and Timers
The dimmer switch allows you to set schedules and timers through the Smart Life app, making it easy to automate your lights. Set your lights to gradually brighten in the morning or dim at night to create the perfect atmosphere for any time of day.
Non-Interference Control Mode
With the MOES Dimmer Switch, you can control your lights using touch control, voice commands, or the Smart Life app without interference. It also supports RF remote control (remote not included), allowing for additional control options. Each control method works independently, giving you maximum flexibility.
Compatibility with Dimmable Bulbs
The MOES Dimmer Switch is designed to work with a wide range of dimmable bulbs, ensuring compatibility and preventing issues like flickering or buzzing. For the best performance, always use dimmable LED, CFL, or incandescent bulbs.
Easy Installation
Installing the MOES Dimmer Switch is straightforward, with clear instructions for connecting it to your home’s electrical system. The switch is designed to replace standard wall switches, making it a simple upgrade for anyone looking to add smart dimming capabilities to their home.
Energy Efficiency
The dimmer switch helps reduce energy consumption by allowing you to adjust the brightness based on your needs. By dimming the lights when full brightness is not needed, you can save energy and lower your electricity bill.
FAQ
1. Q: What’s the difference between a MOES Smart Light Switch and a MOES Smart Dimmer Switch?
A: The main difference lies in the functionality. A MOES Smart Light Switch turns lights on and off, while a MOES Smart Dimmer Switch allows you to adjust the brightness of the lights to your preferred level. Both can be controlled remotely via the MOES app, voice assistants, or automation features.
2. Q: Can I use the MOES Smart Light Switch or Dimmer Switch with any light bulbs?
A: Both switches are designed to work with dimmable bulbs. The Smart Light Switch is compatible with LED, CFL, and incandescent bulbs. The Smart Dimmer Switch should only be used with dimmable bulbs to avoid issues like flickering or buzzing.
3. Q: Do I need a neutral wire to install the MOES Smart Light or Dimmer Switch?
A: Yes, both switches typically require a neutral wire for installation. If your home doesn’t have a neutral wire, you should opt for a MOES Smart Switch version that doesn’t require one.
4. Q: How do I set up voice control for my MOES Smart Light Switch or Dimmer Switch?
A: Both switches are compatible with Alexa and Google Home. To set up voice control, pair the switch with your voice assistant using the Smart Life or Tuya app. Once connected, you can control your lights or adjust brightness using simple voice commands.
5. Q: Can I control the MOES Smart Light Switch or Dimmer Switch remotely?
A: Yes, both switches can be controlled remotely using the Smart Life or Tuya app. Whether you're at home or away, you can turn the lights on or off, adjust brightness, or create schedules directly from your smartphone.
6. Q: What is the maximum load for the MOES Smart Dimmer Switch?
A: The maximum load for the MOES Smart Dimmer Switch is typically 200W for LED lights, 400W for incandescent bulbs, and 300W for halogen lights. Always check the product specifications for exact details and ensure the total wattage of your connected lights doesn’t exceed the switch’s rating.
7. Q: How do I reset my MOES Smart Light Switch or Dimmer Switch?
A: To reset the switch, press the button 6 times, then hold the button on the 6th press until you hear three beeps. The blue indicator will flash rapidly after 3 seconds, signaling that the reset was successful.
8. Q: Can I use the MOES Smart Switch or Dimmer Switch in a 3-way circuit?
A: Yes, the MOES Smart Dimmer Switch can be used in a 3-way circuit (two switches control one light) by associating it with other smart switches via the Smart Life or Tuya app. This allows you to control the same light from multiple locations.
9. Q: What should I do if my MOES Smart Switch or Dimmer Switch isn’t responding in the app?
A: Ensure that your phone is connected to a 2.4GHz Wi-Fi network, as the switch doesn’t support 5GHz networks. Also, check if the switch is within range of your Wi-Fi router. If the issue persists, try resetting the switch and re-pairing it with the app.
10. Q: How do I set up schedules and timers on the MOES Smart Switch or Dimmer Switch?
A: Using the Smart Life or Tuya app, you can set schedules to automatically turn the lights on or off at specific times. You can also create timers and countdowns for precise control over your lighting, such as dimming the lights at night or turning them off after a certain period.