2024 Ultimate Guide: How to Install a Smart Light Switch for Modern Home Automation
Step into a fresh era of home illumination! In the swiftly evolving realm of smart technology, smart light switches have emerged as an essential component of smart homes, serving as a vital link in connecting various smart devices. This advanced device orchestrates intelligent circuit switching control through a clever fusion of a control panel, electronic components, and programming.
Contrasting with conventional wall switches, it boasts diverse functionalities, ensuring safety, reliability, and an aesthetically pleasing design. Our ultimate 2024 guide will give you real help by revealing the mysteries of the smart light switch installation process.
Tools Required for the Installation Process
To successfully install your smart light switch, make sure you have the following essential tools on hand
- Screwdriver: A Phillips or flathead screwdriver, depending on the type of screws used in your switch.
- Voltage Tester: Ensure safety by checking for live wires before starting the installation.
- Wire Connectors: Used to securely connect wires together.
- Wire Stripper: Essential for removing the insulation from wire ends for proper connections.
- Electrical Tape: Use electrical tape to secure wire connections and insulate exposed wires.
- Smartphone or Tablet with Compatible App: To set up and configure your smart light switch, you'll need a device with the manufacturer's compatible app installed.
Having these tools readily available will streamline the installation process and help ensure a successful and safe setup of your smart light switch.
Preparation Before the Installation of Smart Light Switches
Embarking on the journey to upgrade your home lighting with smart light switches demands a bit of preparation to ensure a smooth installation process. Following these preparatory measures establishes the groundwork for a trouble-free installation, ensuring a secure working environment and a clear understanding of the installation steps.
Here's a preparation guide outlining the crucial steps you should take before diving into the installation process:
Turn Off Power
Safety first! Head to your circuit breaker and switch off the power to the area where you'll be installing the smart light switch. This precautionary step prevents electrical accidents during the installation.
Verify Compatibility
Ensure a harmonious integration by double-checking the compatibility of your smart light switch with your existing wiring and fixtures. Refer to the manufacturer's guidelines and specifications to confirm a perfect match.
Read the Instructions
Knowledge is power! Take the time to thoroughly read the installation instructions provided by the manufacturer. Familiarize yourself with the steps and any specific requirements unique to your smart light switch model.
Check Wi-Fi Connection
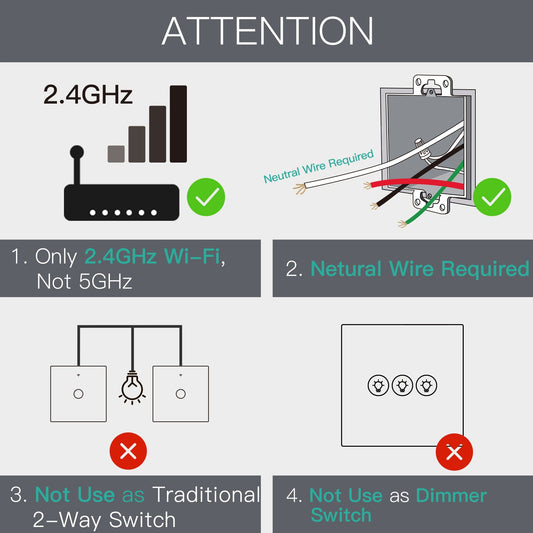
If your smart light switch relies on a Wi-Fi connection, ensure that your home network is stable and that you have the necessary credentials for a smooth setup. A robust connection is key to seamless smart home integration.
Prepare the Work Area
Clear the area around the existing switch to create a clutter-free workspace. Ensure there's ample space to maneuver, and if needed, use a flashlight to enhance visibility in dimly lit areas.
Label Wires
Simplify the installation process by labeling the wires connected to the existing switch. If feasible, take a photo of the current setup for quick reference. This small step can save time and prevent confusion during the switch replacement.
Smart Light Switch Wiring Identification
Installing a smart light switch demands precise wiring identification. Follow these crucial steps for a secure and efficient installation:
- Common Wire (Usually Black): This wire, often black, channels current from the power source to the switch.
- Load Wire (Typically Black): Identified by its black color, this wire powers the light fixture, enabling control via the smart switch.
- Neutral Wire (Usually White): Typically white, this wire completes the circuit, ensuring a safe return path for current.
- Ground Wire (Green or Copper): Found in green or copper, this safety wire prevents electrical shocks.
Before handling wires, use a voltage tester to ensure they are powerless, prioritizing safety throughout the installation.

How to Install a Smart Light Switch: A Step-by-Step Walkthrough
Step 1: Assess Your Wall Switch Setup
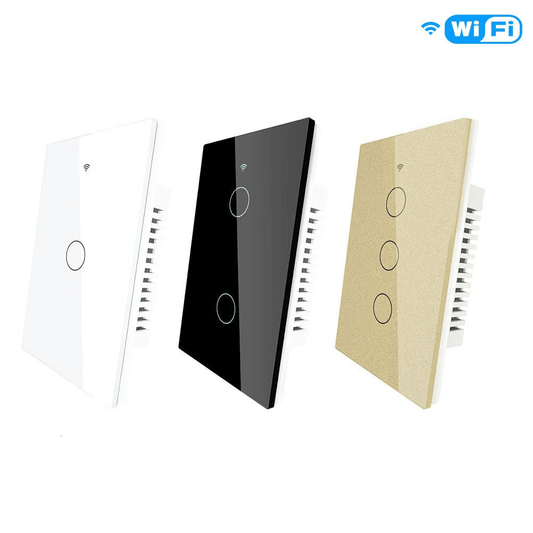
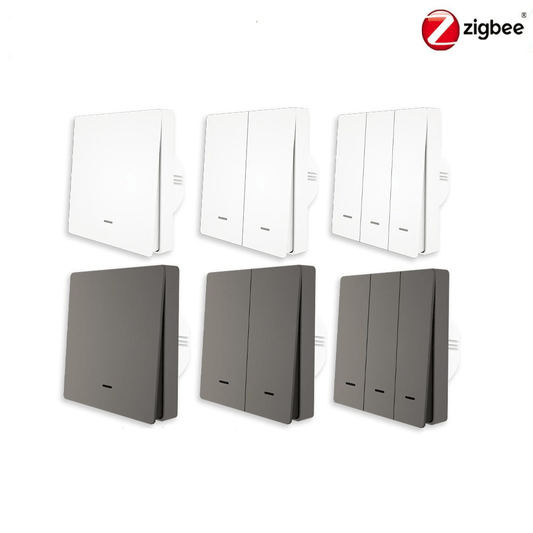
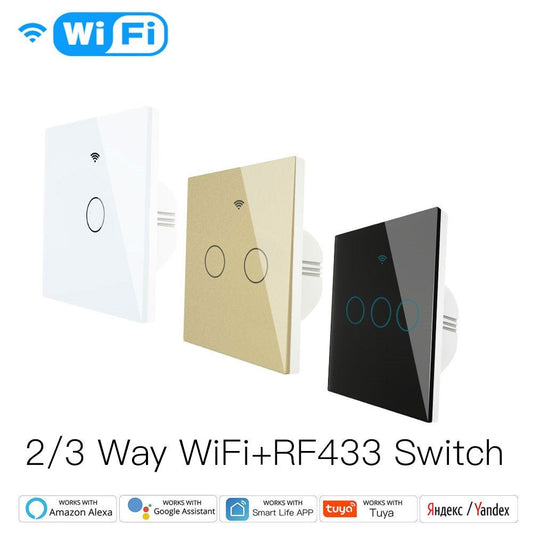
Begin by understanding your existing wall switch configuration. Evaluate how many switches control the lights in the room. For a single switch, you'll need a single wall switch. If there are two switches, opt for a two-row smart light switch, and for three switches, go for a three-hole switch. This initial assessment ensures you purchase the right smart light switch that aligns with your home's wiring structure.
Step 2: Examine Wiring Setup
Safety is paramount when dealing with electrical installations. Turn off the power at the fuse box to eliminate the risk of electric shock. Use a voltmeter or a non-contact voltage tester to identify live wires and circuits. This step is crucial for a safe and efficient installation process, allowing you to work confidently with the electrical components.
Step 3: Locate and Uninstall Existing Switch
Uncover your existing switch by unscrewing and removing the wall plate. Use a flathead screwdriver or a butter knife to gently pry it off the wall. If there's resistance, it's likely due to dried paint or adhesive. Once exposed, unscrew and remove the existing light switch carefully. This step prepares the space for the introduction of the smart light switch.
Step 4: Inspect Wire Configuration
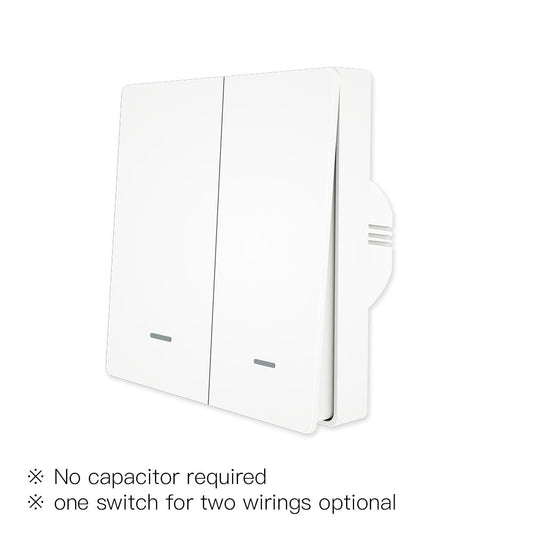
Carefully inspect the wiring setup for any signs of wear, tear, or damage. This is a crucial safety check, especially if your home has undergone renovations. Additionally, check for the presence of a neutral wire, which might be essential for certain types of smart light switches. Identifying these elements ensures a smooth and safe installation.
Step 5: Remove Old Light Switch
Before handling the wires, ensure the power is completely turned off at the breaker. Disconnect the old light switch by removing each wire one by one. Label each wire to avoid confusion during the installation. If the wires are unlabeled, use different colors of electrical tape to mark them accordingly.
Step 6: Connect Smart Light Switch's Wires
Now, proceed to install the smart light switch. Connect each wire from the new switch to its corresponding wire from the wall. Use a wire stripper to prepare the wires for the new switch, and secure the connections with wire connectors. This ensures a reliable and safe electrical connection.
Step 7: Power On and Test Wiring
Carefully connect the wires to the designated locations on the smart switch. Many switches come with instructions or color-coded wires for ease of installation. After connecting the wires, gently tug them to ensure they are securely in place, minimizing the risk of dislodging when placing the switch back into the junction box.
Step 8: Remote Control Setup with App
With the physical installation complete, it's time to integrate your smart light switch into your home automation system. Connect the switch to your chosen smart hub, whether it's Google Home, Alexa, or another platform. This step enables you to enjoy the full range of features and control your lights remotely.
Congratulations! Your smart light switch is now successfully installed, providing enhanced control and convenience for your home lighting. Explore the possibilities of your upgraded smart home addition and enjoy the benefits of modern lighting technology.

Smart Light Switch Installation Tips
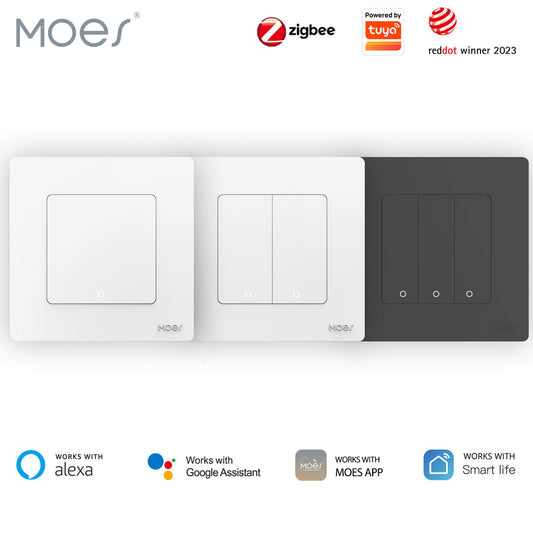
Enhance your home lighting experience by installing smart light switches, providing convenient control and integration with voice assistants like Alexa or Google Assistant. Ensure a successful installation with these helpful tips:
Before commencing installation, thoroughly read the instruction manual accompanying your smart light switch. Familiarize yourself with the wiring details and operational features. Keep in mind that smart switch designs may differ from traditional switches.
Avoid assuming uniformity across all rooms. Room-to-room wiring configurations can vary, so be prepared for potential differences in the installation process.
When facing challenges connecting your smart switch to the app, confirm that your device is on a 2.4 GHz network. If issues persist, utilize the reset function by holding the "on" button for around 10 to 15 seconds.
For scenarios involving two- or three-gang smart light switches or installations without a neutral wire, consult your instruction guide for specific instructions tailored to these situations.
Conclusion
In this comprehensive guide, you've adeptly maneuvered through every step of the smart light switch installation process, transforming your home lighting into a smart, responsive system. From grasping your existing wall switch setup to meticulously connecting wires, you've embraced a new era of modern convenience.
Experience the sheer simplicity of voice commands, seamlessly integrated with virtual assistants like Alexa or Google Assistant. This enhanced control not only infuses a touch of modernity into your living space but also champions energy efficiency and comprehensive home automation.
As you revel in the radiance of your newly installed smart light switch, consider exploring the range of options MOES provides. Find the ideal smart light switch to tailor your home lighting to perfection. Illuminate your space with the brilliance of technology and the ease of control – the future of home automation awaits.