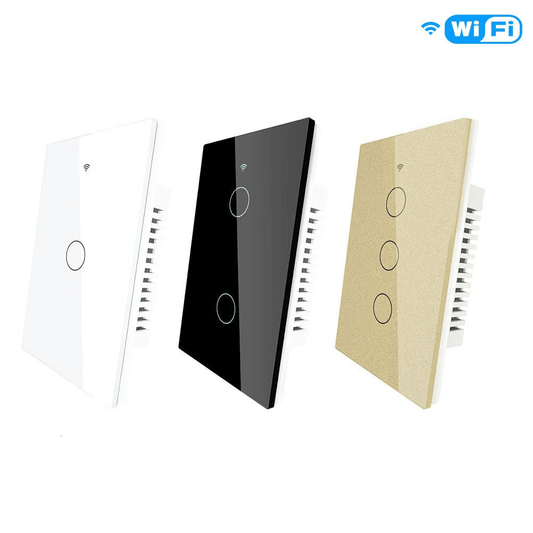
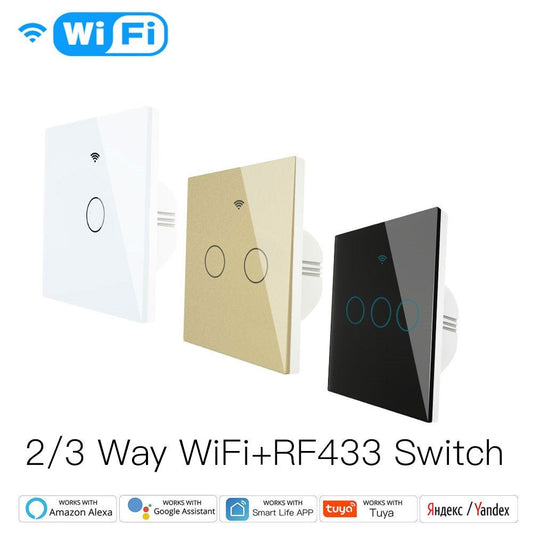
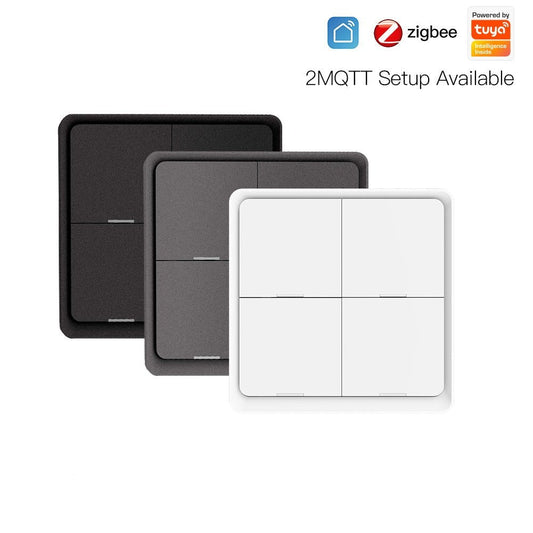
Traditional Infrared (PIR) sensors often fail when occupants are stationary, leading to lights turning off prematurely. The MOES Tuya Zigbee Smart Human Presence Switch resolves this by using millimeter-wave (mmWave) radar technology to detect micro-movements like breathing. This guide provides a detailed walkthrough for the physical installation and digital setup of this European-style switch.
Phase 1: Pre-Installation Preparation
Safety and correct environment settings are essential before beginning the electrical work.
- Cut the Power: Go to your home’s main electrical panel and switch off the circuit breaker for the specific lighting loop.
- Tools Needed: Prepare a flathead screwdriver, a Phillips-head screwdriver, and wire strippers.
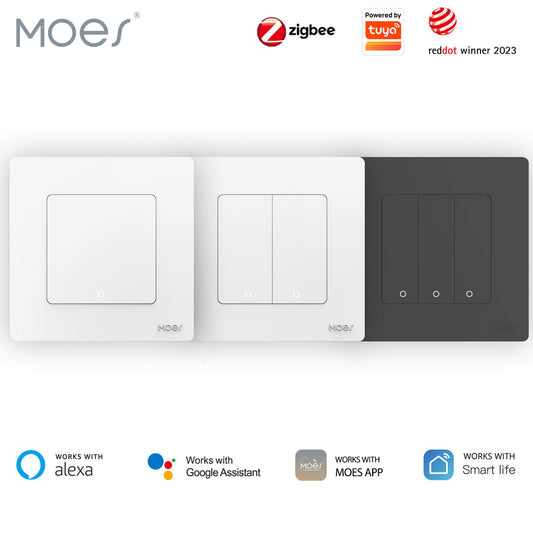
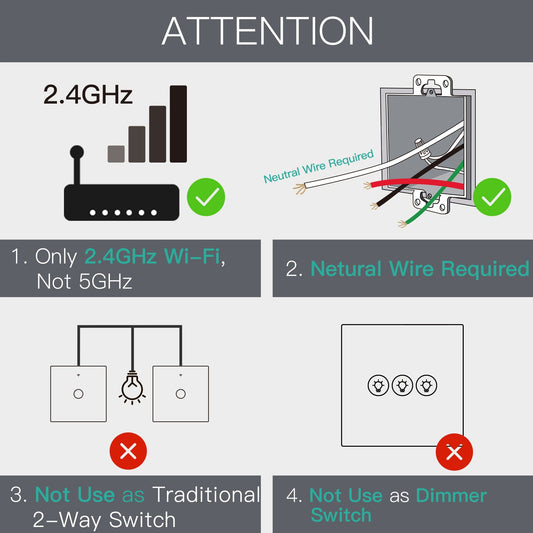
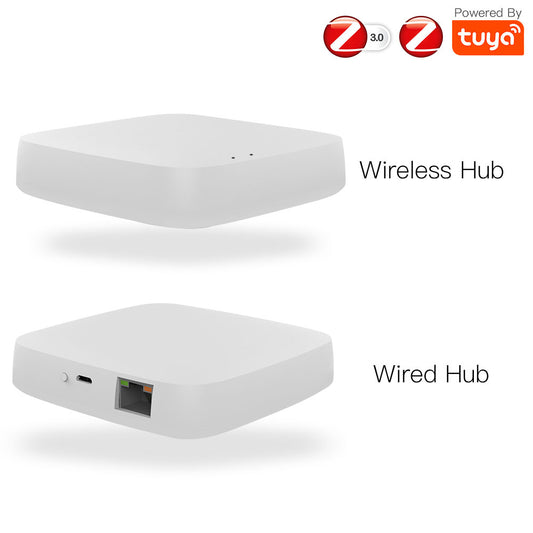
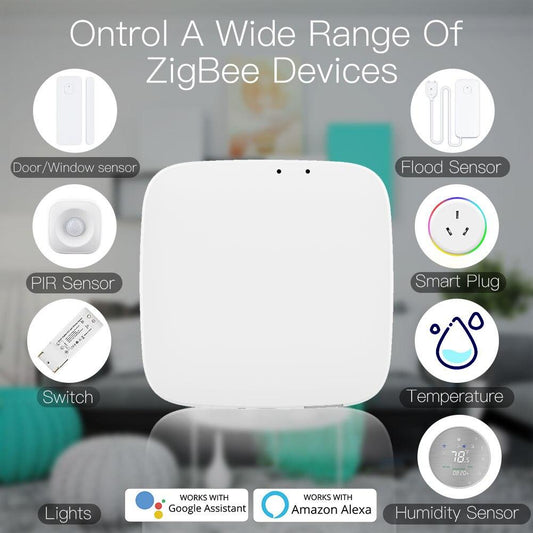
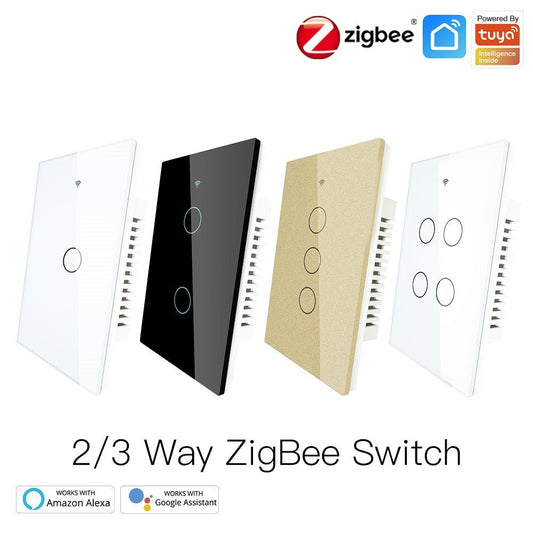
- Gateway Requirement: This device uses the Zigbee 3.0 protocol, so a Tuya Zigbee Gateway must be online and connected to your MOES or Smart Life App.
Phase 2: Physical Wiring and Wall Mounting
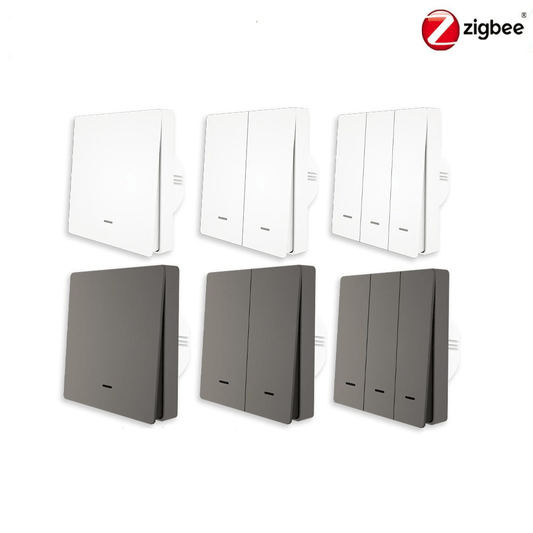
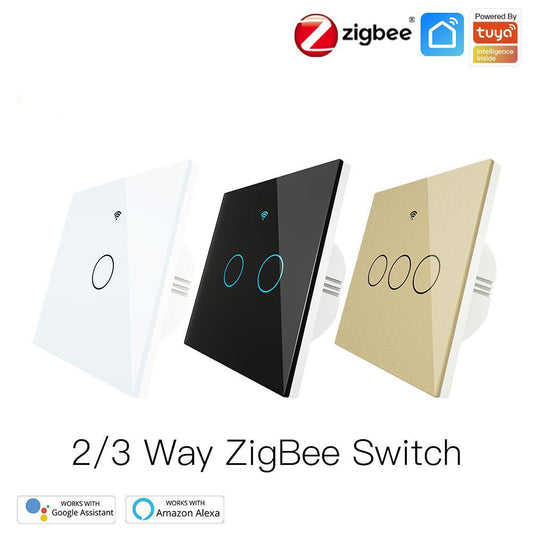
The MOES switch supports both "Neutral Wire Required" and "Neutral Wire Optional" configurations, making it compatible with various housing standards.
Remove the Faceplate: Use a flathead screwdriver to gently pry the front panel away from the switch chassis.
Identify Wires: Locate your Live (L), Load (L1), and Neutral (N) wires inside the wall box.
Connect Terminals:
- Insert the Live power wire into the L terminal.
- Insert the light fixture's load wire into the L1 terminal.
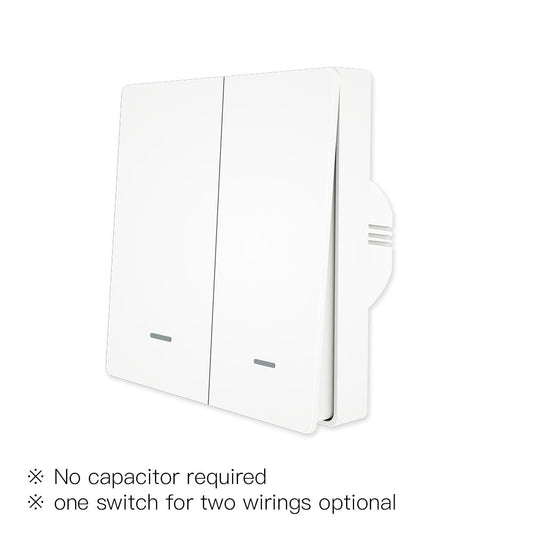
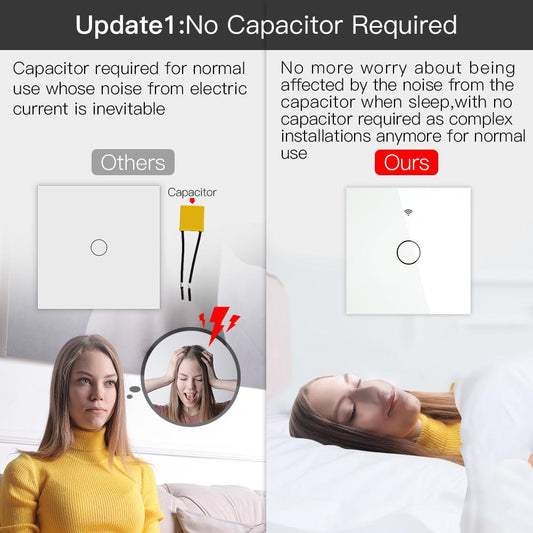
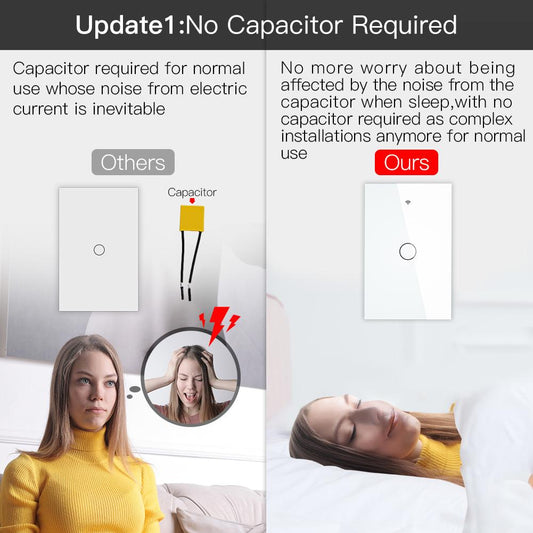
If a Neutral wire is available, connect it to the N terminal. Note that the switch functions without a neutral wire if your home is not equipped with one.
Secure the Unit: Fold the wires into the wall box and use the Phillips screwdriver to bolt the chassis to the wall.
Reattach Panel: Snap the front cover back onto the unit until it is flush.
Restore Power: Turn the circuit breaker back on at the electrical panel.
Phase 3: Pairing with the Zigbee Gateway
Once powered, the device needs to be synced with your smart home ecosystem.
- Enter Pairing Mode: Press and hold the physical button on the switch for 5 to 10 seconds until the indicator light flashes.
- Open the App: Launch the MOES or Smart Life App on your smartphone.
- Select Gateway: Tap on your active Zigbee Gateway from the device list.
- Search for Device: Tap "Add subdevice" and the app will automatically scan for the switch.
- Finalize Setup: Once the "Human Presence Sensor Switch" appears, tap "Done" to complete the pairing.
Phase 4: Customizing Radar and Logic Settings
The app interface allows for precise calibration to ensure the radar behaves exactly as needed for your specific room.
- Hold Time: Set the duration the light stays on after the room becomes empty to prevent constant flickering.
- Trigger Sensitivity: Adjust the radar range to ensure it doesn't detect movement through thin walls or doors.
- Relay Status: Configure the device to stay "Off," turn "On," or "Remember" its previous state after a power failure.
- Backlight Switch: Toggle the LED indicator light on the physical panel off if the switch is located in a bedroom.
- Induction Lighting: Enable "All Channels" under induction settings to automate the light turning off when no presence is detected.
- Motion Alarm: Turn on notifications to receive an alert on your phone if movement is detected while you are away.
By following these steps, you transition from traditional motion sensing to true human presence detection, creating a highly responsive and energy-efficient lighting environment.