The MOES ZigBee Smart DIY Motorized Roller Blinds Motor (AM43) is designed to automate any existing roller blinds or shades fitted with a looped bead chain. The motor integrates with the Tuya Smart Life ecosystem, supports ZigBee mesh networking, and is compatible with Amazon Alexa and Google Home for voice control. No professional installation is required. This guide covers the complete setup process from unboxing to your first automated schedule.
Product page: MOES ZigBee Chain Motorized Blinds Motor (AM43)
Video Installation Guide
Before you begin, we recommend watching the full installation walkthrough. Watch on YouTube
Package Contents
- MOES Smart Blinds Drive Motor x 1
- DC Charger Adapter (8.4V) x 1
- Mounting Screws x 2
- Drive Gears x 3 (multiple sizes for different chain diameters)
- 3M VHB Double-Sided Tape x 1
Please note that a ZigBee Hub is not included in the package and must be purchased separately. If you require a hub, consider the KIT bundle option available on the product page, or view our compatible hubs below.
Requirements Before You Begin
- A roller blind or shade with a looped plastic or metal bead chain
- A screwdriver (for screw-mount installation)
- A smartphone with the Tuya Smart Life App installed
- A compatible ZigBee Hub, already connected to your Wi-Fi network and added to the Tuya app
- A power outlet nearby for initial charging
Step-by-Step Installation
Step 1: Charge the Motor
Connect the motor to the included DC adapter and charge it fully before installation. The motor is powered by a 7.4V / 1000mAh battery. A full charge is recommended prior to setting limit positions, as low battery can cause limit-save failures.
Step 2: Select the Correct Drive Gear
Three gear sizes are included to accommodate different bead chain diameters. Test each gear against your blind's chain and select the one that fits securely without slipping. The chain must form a closed loop to function correctly with the motor.
Step 3: Mount the Motor
Two mounting methods are available depending on your installation preference:
- Adhesive Mount: Apply the included 3M VHB tape to the motor bracket and press firmly onto a clean, dry wall or window frame surface. This method is suitable for lighter blinds and temporary installations.
- Screw Mount: Use the two included screws to fix the motor bracket permanently. This method is recommended for heavier blinds or high-frequency use.
Position the motor so that the drive gear aligns precisely with the bead chain path. The chain should pass through the gear smoothly without excess tension or slack.
Step 4: Attach the Bead Chain
Loop the bead chain through the motor's drive gear. Confirm that the chain sits evenly within the gear teeth. Perform a gentle manual pull to verify correct engagement before powering on the device.
Step 5: Power On the Motor
Press the power button on the motor body. The LED indicator will illuminate to confirm the device is active. Basic up and down movement can be tested immediately using the physical UP/DOWN buttons on the motor, without requiring the app or hub.
Step 6: Add the Motor to the Tuya Smart Life App
- Open the Tuya Smart Life App on your smartphone.
- Confirm that your ZigBee Hub is online and visible in the app.
- Tap "Add Device" and select the "Curtain and Blind" category.
- Put the motor into pairing mode by holding the reset button for approximately 5 seconds until the LED flashes rapidly.
- The app will detect the motor automatically via ZigBee. Follow the on-screen prompts to complete the pairing process.
- Assign a name to the device (for example, "Living Room Blinds") and place it in the appropriate room.
The default pairing password is 8888.
Step 7: Set Upper and Lower Limit Positions
Limit positions define the fully open and fully closed positions of your blinds. Setting these correctly is essential for reliable daily operation.
- In the app, open your device controls.
- Drive the blinds to the fully open position using the app.
- Tap "Set Upper Limit" to save this position.
- Drive the blinds to the fully closed position.
- Tap "Set Lower Limit" to save.
Limit positions are stored in the motor's internal memory and will be retained even after a power cycle.
Step 8: Adjust Motor Speed (Optional)
Within the device settings in the Tuya Smart Life App, motor speed can be adjusted between 20 and 40 RPM. A lower speed is recommended for heavier or larger blinds to reduce mechanical stress and extend motor life.
Step 9: Connect to Amazon Alexa or Google Home (Optional)
Once the motor is configured in the Tuya app, it can be linked to a voice assistant for hands-free control.
- Amazon Alexa: Open the Alexa app, go to Skills and Games, search for "Tuya Smart", enable the skill, and link your account.
- Google Home: Open the Google Home app, tap Add, select "Set up device", choose "Works with Google", search for "Tuya Smart", and link your account.
Please note that voice commands use "turn on" and "turn off" rather than "open" and "close" when controlling the blinds.
Step 10: Create Schedules and Automations
In the Tuya Smart Life App, navigate to your device and tap "Schedule" to configure daily open and close times. Automations can also be created based on triggers such as sunrise and sunset, ambient temperature, or other connected smart home devices.
Sharing Device Control
The Tuya Smart Life App supports device sharing with family members. Navigate to device settings and select "Share Device" to grant access to additional users. A single app account can manage up to 7 devices simultaneously.
Troubleshooting
- Motor not detected during pairing: Verify that your ZigBee Hub is online and within range (20 to 30 metres). Reset the motor and attempt pairing again.
- Chain slipping on the gear: Try a different gear size from the included set. Ensure the chain is a closed loop and seated correctly within the gear teeth.
- Limit positions not saving: Ensure the motor is fully charged before setting limits. Low battery is a common cause of this issue.
- Motor moving in the wrong direction: Use the "Reverse Direction" option in the app device settings to invert the motor's movement.
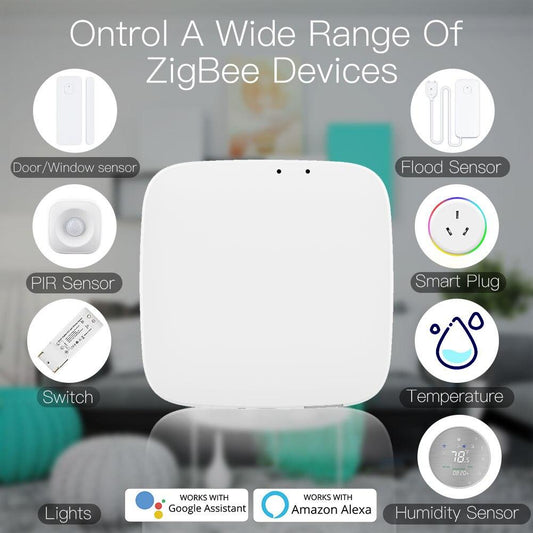
- Weak or unstable ZigBee signal: Adding more ZigBee devices such as smart sockets, switches, or thermostats will strengthen the mesh network. Each mains-powered ZigBee device acts as a signal relay within a range of 20 to 30 metres.
Technical Specifications
- Model: AM43-0.45/40-ES-EB
- Wireless Protocol: ZigBee 2.4GHz
- Input Power: DC 8.4V (adapter included)
- Battery: 7.4V / 1000mAh
- Torque: 0.45 Nm
- Speed Range: 20 to 40 RPM
- Rated Current: 1A (Lock-rotor: 1.8A)
- Compatible Chains: Looped plastic or metal bead chains
Recommended Products
To get the most out of your MOES ZigBee Motorized Blinds Motor, the following accessories and compatible products are available in our store.
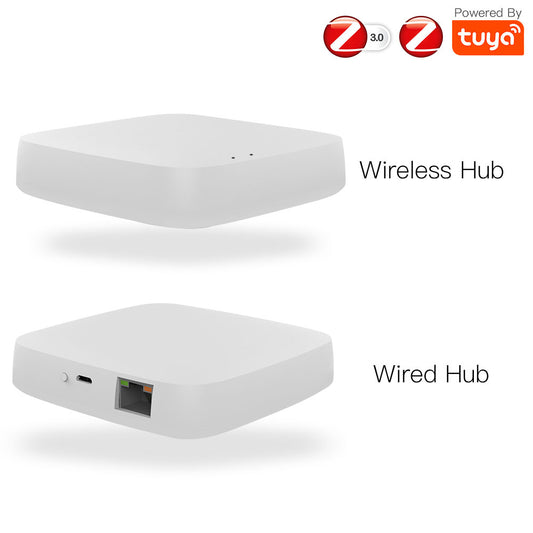
ZigBee Hubs
A ZigBee Hub is required for wireless control and app integration. The following hubs are fully compatible with the AM43 motor:
- Tuya ZigBee Smart Gateway Hub for All Tuya ZigBee 3.0 Smart Products
- Smart ZigBee Hub with HomeKit Support and Wired Gateway
- Tuya ZigBee Matter Thread Gateway Smart Home Bridge
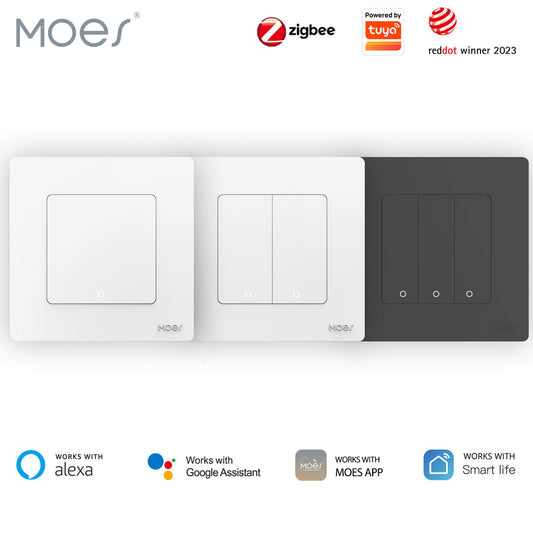
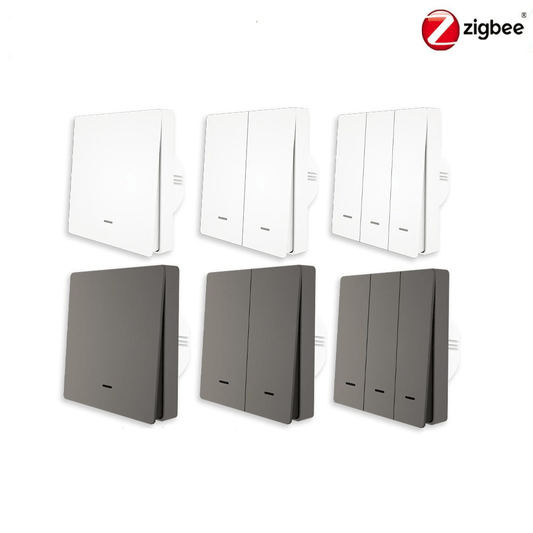
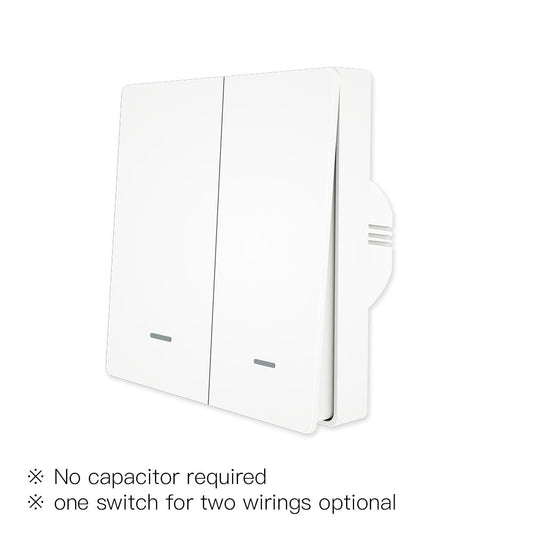
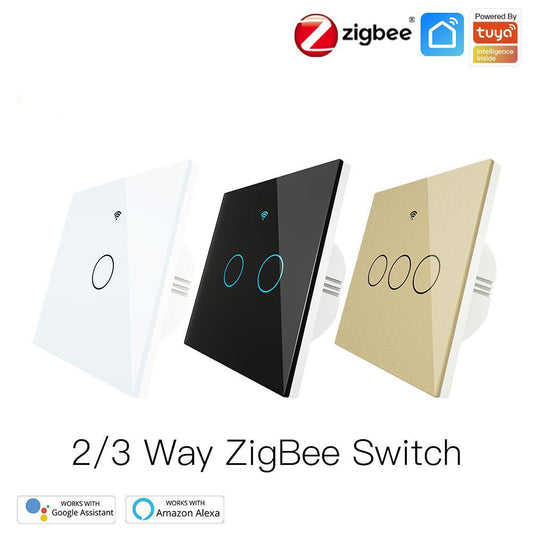
Smart Curtain Switches
Pair your motorized blinds with a dedicated wall switch for convenient manual control without using the app:
- WiFi Touch Smart Curtain Switch for Motorized Curtains and Roller Blinds (EU)
- WiFi Smart Curtain Push Button Switch for Motorized Curtain Motor and Roller Blinds (EU)
Purchase the Product
Ready to automate your window coverings? Visit the product page to select your plug type and shipping option.
Shop the MOES ZigBee Motorized Blinds Motor (AM43)
If you need a hub included, the KIT bundle is available on the same product page with options for US, EU, UK, and AU plug types.